
Instead of chasing details across texts, emails, and spreadsheets, a project keeps everything in one place — products, sizes, artwork, collaborators, and order status — from first idea to final delivery.
Think of a project as a smart folder for everything related to one order — whether that's t-shirts for a staff team, a tent for a trade show, or a full event package with multiple products.
Browse the catalog, save items to your project, and configure them with sizes, quantities, and colors — all without leaving the dashboard.
Upload logos, manage brand colors, and keep all your artwork organized. Your brand center travels with you across every project.
Send a link to your team. They pick their sizes on a simple form. You watch responses roll in on a live progress ring — no more spreadsheets.
Invite team members to view or edit the project. Everyone stays on the same page with shared access to products, sizes, and artwork.
Watch your order move through each stage — from building to production to delivery — with a visual timeline that updates in real time.
Set timelines for size collection, artwork upload, and order submission. The dashboard surfaces what needs attention before it becomes a problem.
When you log in, this is home base. Every project, saved product, brand asset, and order lives here — organized and one click away.
Active projects, recent orders, saved products, brand center assets, and recent activity — all on one screen.
Upload your logo and brand colors in the Brand Center. They'll be available in every project you create.
Hit "Create a Project," give it a name, and you're ready to start adding products.
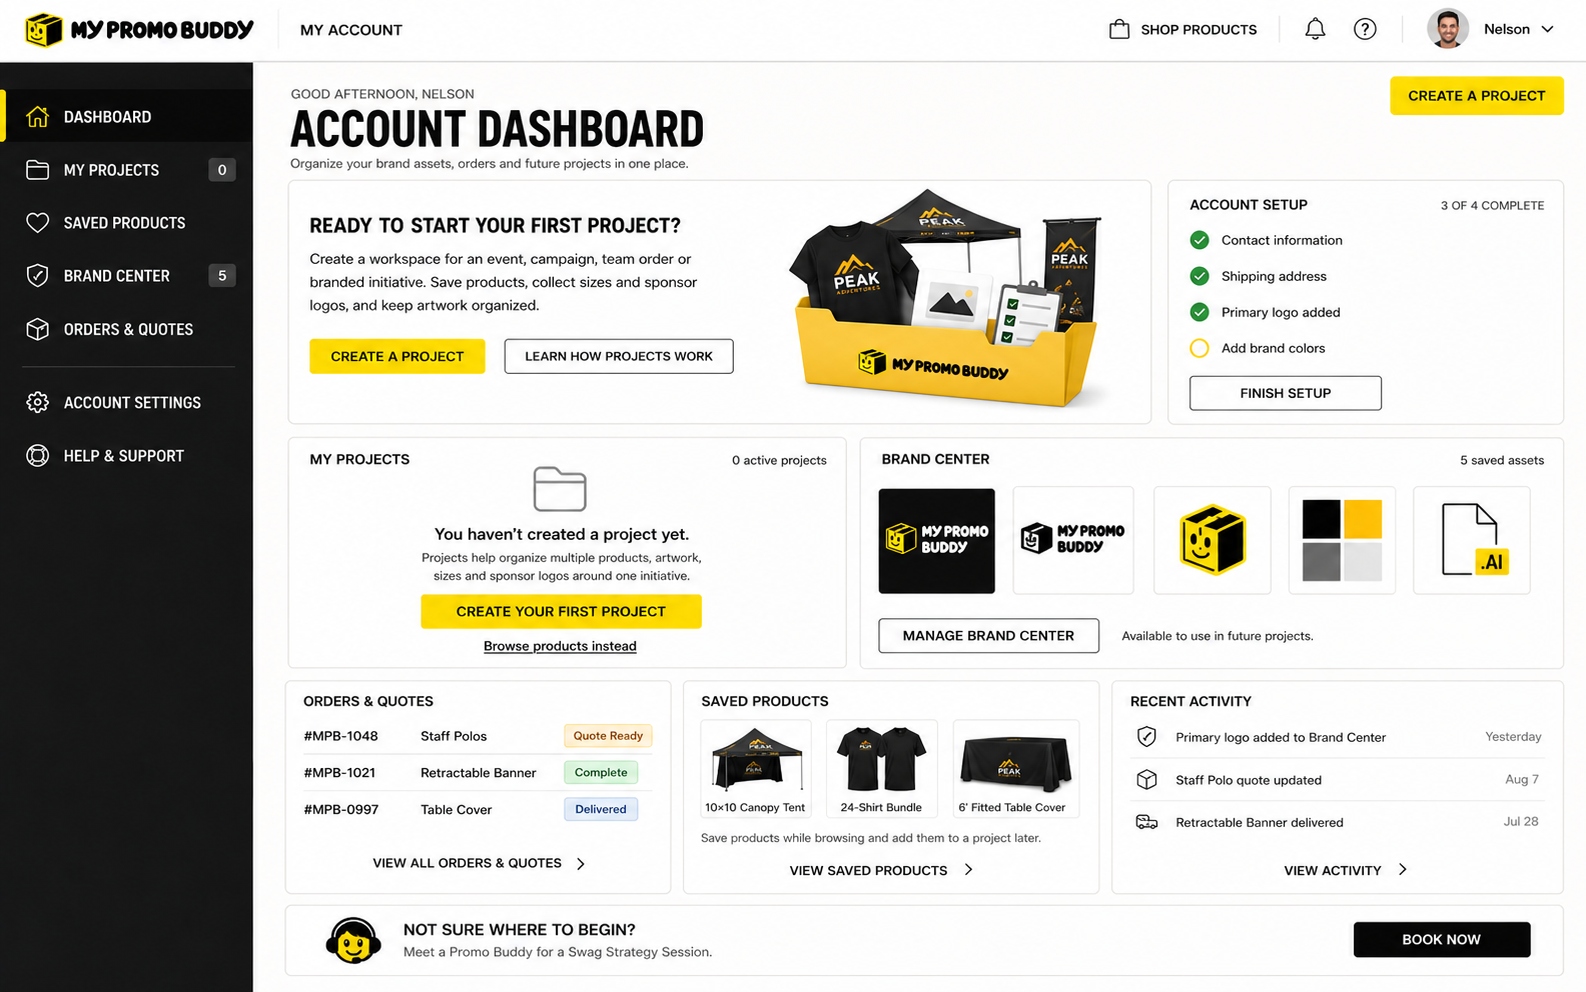
The account dashboard — your home base for all projects and brand assets.
From custom tents and table covers to t-shirts and promotional items — browse the catalog, pick your products, and save them to your project. No commitment, no upfront pricing required.
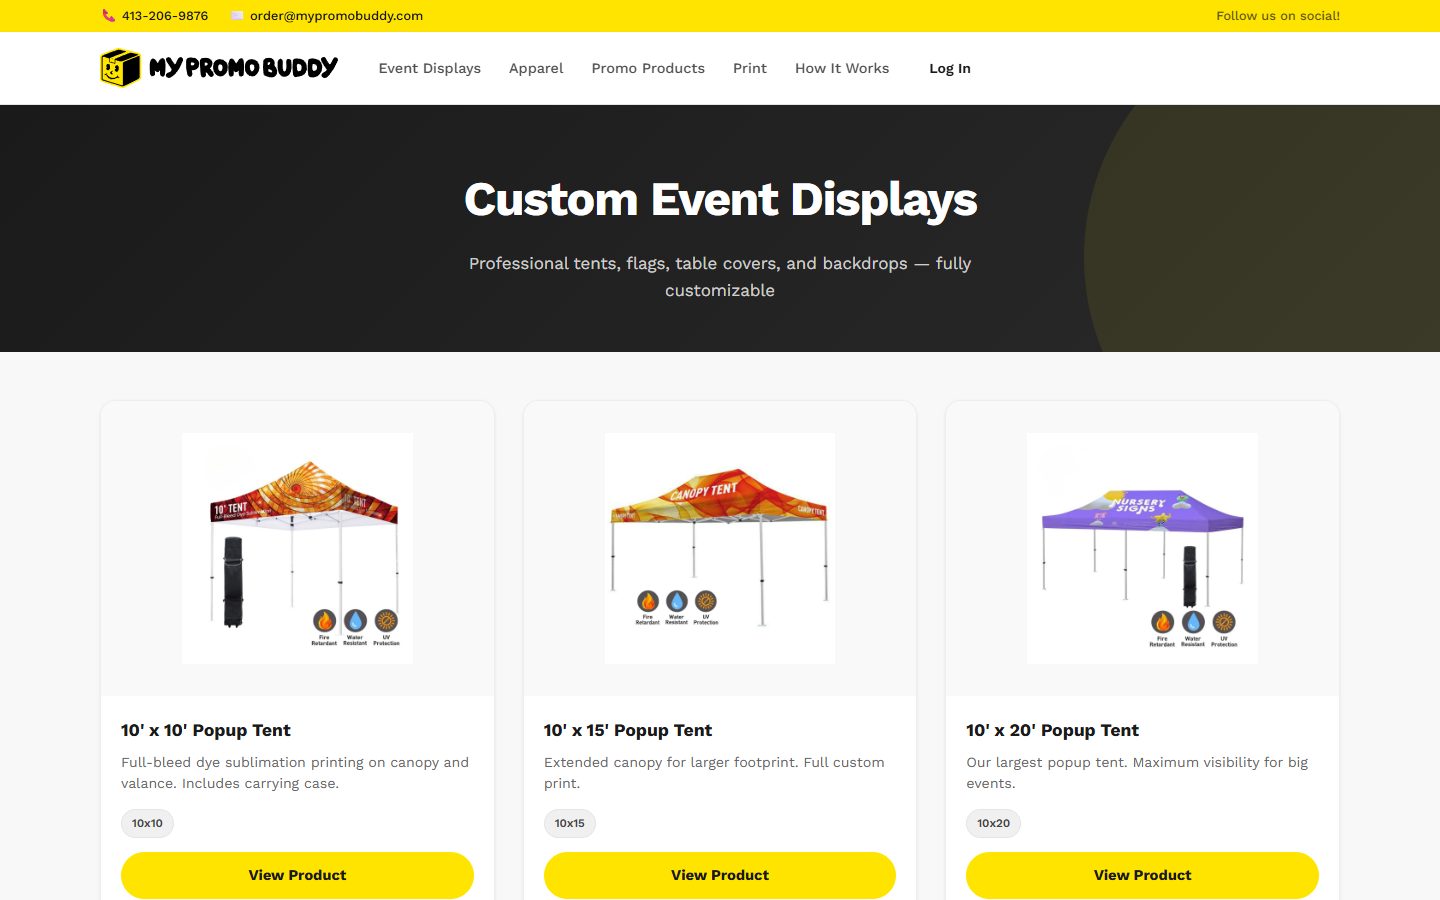
Event displays — tents, banners, table covers, and more.
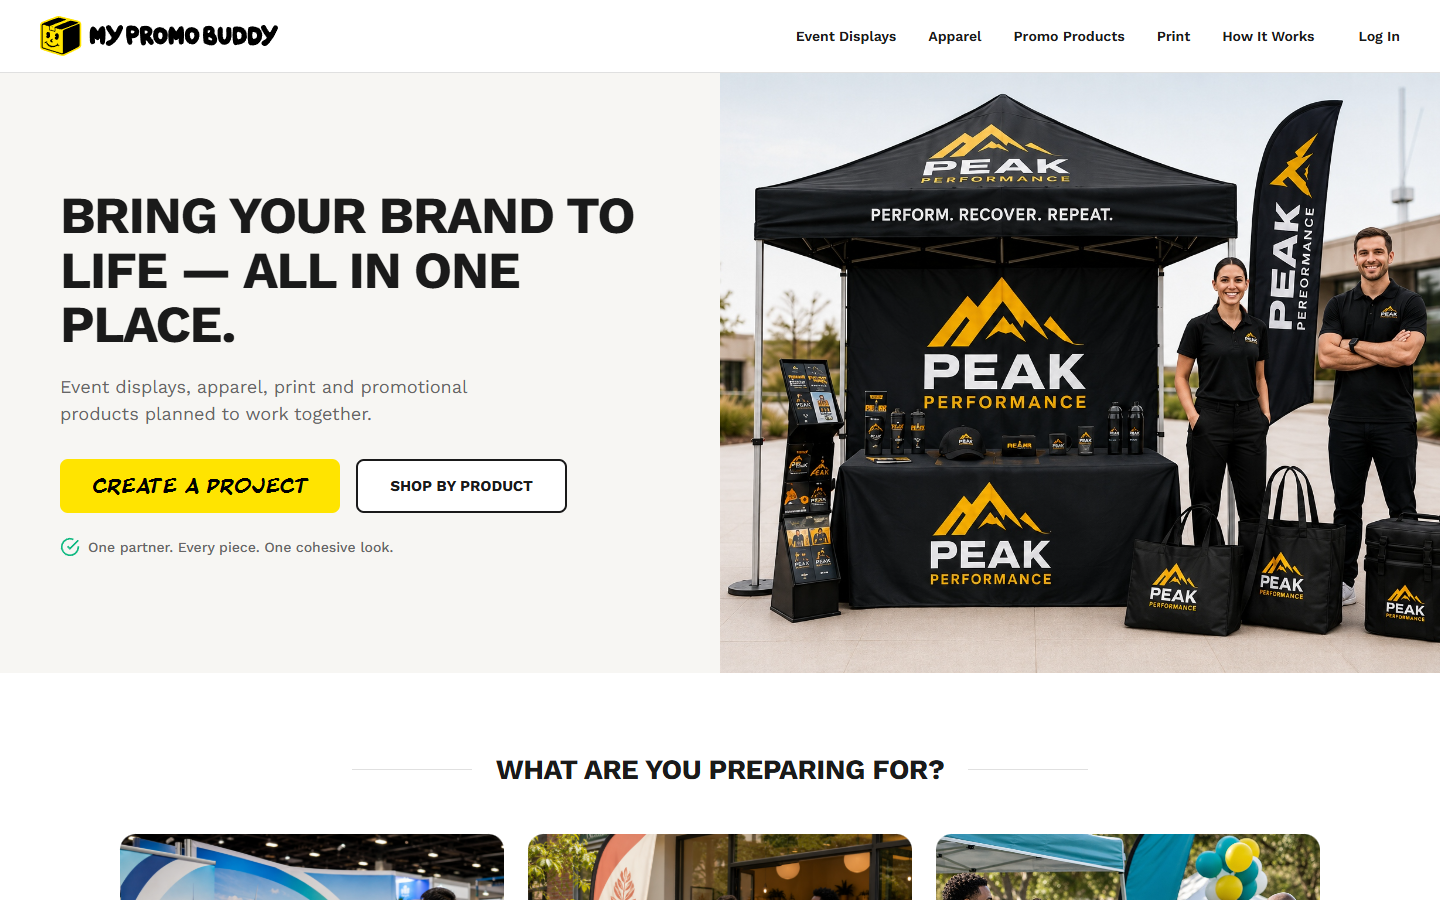
The main site — start by browsing or jump straight to creating a project.
Tip: You don't need to know sizes or quantities when saving a product. Add items to your project first, then configure the details later — or use the Size Collector to gather sizes from your team.
Each project gets its own dashboard — a command center where you configure products, collect sizes, manage artwork, track readiness, and submit your order request.
The readiness meter at the top tells you exactly what's done and what still needs attention. Action cards surface your next steps — so nothing falls through the cracks.
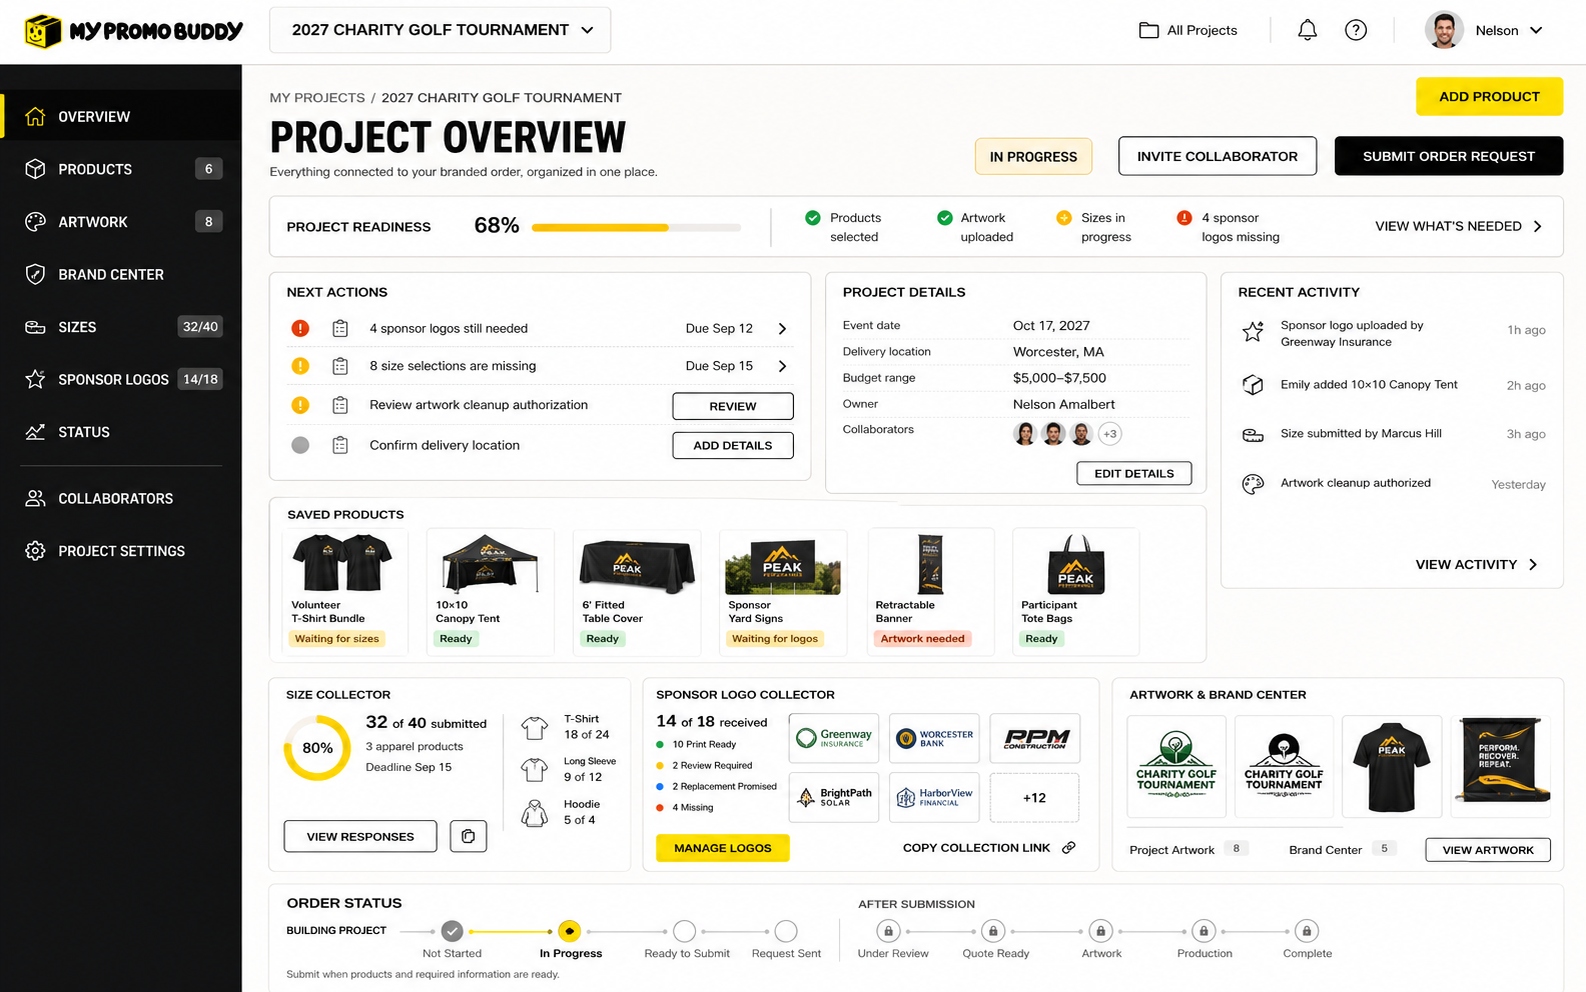
A project dashboard with products, size collection, and order tracking.
Hit "Configure" on any saved product to open a modal — no navigating away to another page. Set sizes, quantities, and design notes without losing your place.
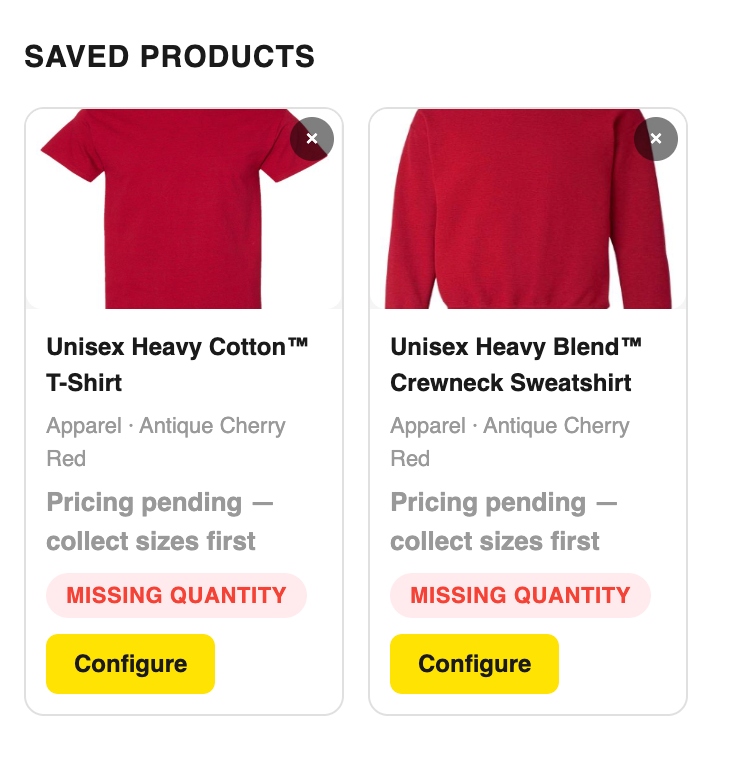
Saved products with status badges and Configure buttons.
For apparel items, enter quantities per size (S, M, L, XL, etc.) in a simple grid. The total updates automatically.
For tents, banners, and table covers, set the quantity and add design notes — like logo placement or print specifications.
Add instructions for artwork placement, imprint colors, or any special requirements. These notes stay with the item through the entire process.
Each product card shows its readiness: "Missing Quantity," "Waiting for Sizes," "Needs Configuration," or "Ready to Submit."
Need sizes from your team? The Configure modal includes a shortcut to set up a Size Collector — so you can gather sizes from everyone without leaving the dashboard.
Instead of texting each person for their shirt size, generate a collection link. Your team picks their sizes on a simple form. You watch responses come in on a live progress ring.
Choose which apparel items from your project should be part of the size collection campaign.
Pick a date for responses. The dashboard shows a countdown — "3 days left," "Due today," or "Past due" — so you know when to follow up.
Enter how many people you expect to respond. The progress ring tracks percentage complete in real time.
Copy the collection link and send it to your team. They fill out a simple form — no login required.
Live status card with progress ring, response count, and per-item breakdown.
Upload logos, manage brand colors, and keep all your artwork in one place. The Brand Center lives at the account level — so your assets are available in every project.
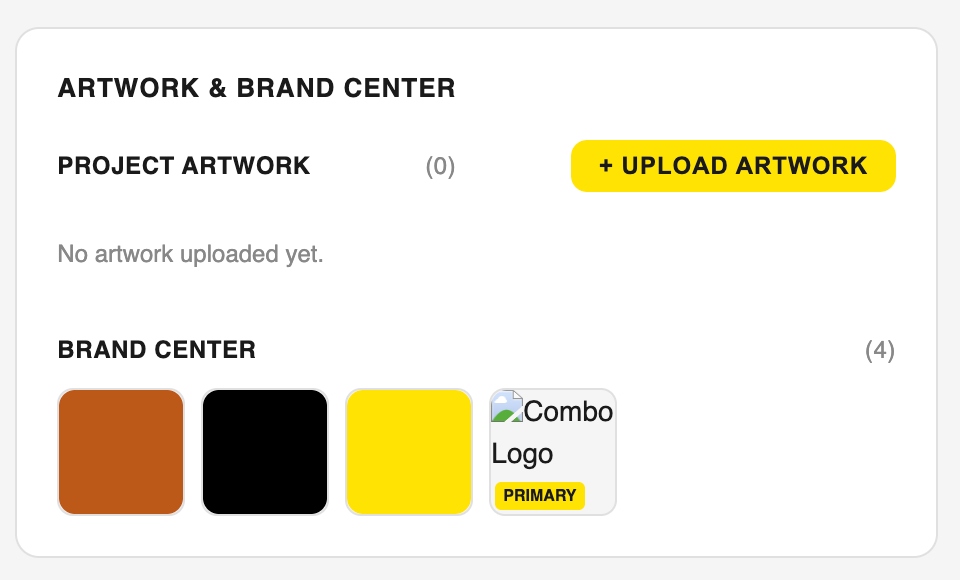
The Artwork & Brand Center widget in the project dashboard.
Upload logos, sponsor graphics, and design files directly to a project. Files are organized and viewable in the dashboard.
Click any color swatch to edit it with a color picker, or delete it entirely. Your palette stays consistent across every project.
Mark one logo as "Primary" so it's always the first choice when configuring products or generating mockups.
When everything's configured — products, sizes, artwork — hit "Send Order Request." The order status tracker takes over, showing you exactly where your order is in the process.
The status tracker uses an open box icon for the current step, a yellow checkmark for completed steps, and yellow dots for upcoming steps — so you can see where you are at a glance.
Create a project, browse products, or jump into your dashboard. Everything you need is one click away.